
A replacement window ordered a half-inch too big is an expensive paperweight. One that comes in too small leaves gaps that leak air and money all winter.
The reassuring part is that measuring a window correctly is not hard. It just takes the right order of operations and a little patience. Here’s exactly how the pros do it.

First, Grab the Right Tools
You don’t need much, but a few items make the job far easier:
- A steel tape measure. The flexible cloth kind sags and throws your numbers off.
- A pencil and notepad to record every single reading.
- A level or speed square to check whether the opening sits true.
- A flashlight and a helper, both worth having once you’re reaching into a deep opening.
Take your measurements from inside the house. The interior gives you the cleanest read on the real opening, away from siding and exterior trim.
Step 1: Decide What Kind of Replacement You’re Measuring
Before you touch the tape, know which job you’re sizing for, because it changes what you measure.
An insert (or pocket) window slides into your existing frame and leaves your interior and exterior trim in place. It’s quicker and gentler on the budget, but it only works when the old frame is solid, square, and deep enough. For an insert, you measure the existing frame.
A full-frame replacement pulls everything out down to the rough opening, the bare structural hole framed by studs. That’s the route when the old frame is rotted, water-damaged, or badly racked, and it lets the crew flash and insulate the opening the right way. For full-frame, you measure the rough opening itself, stud to stud.
Step 2: Measure the Width, Three Times
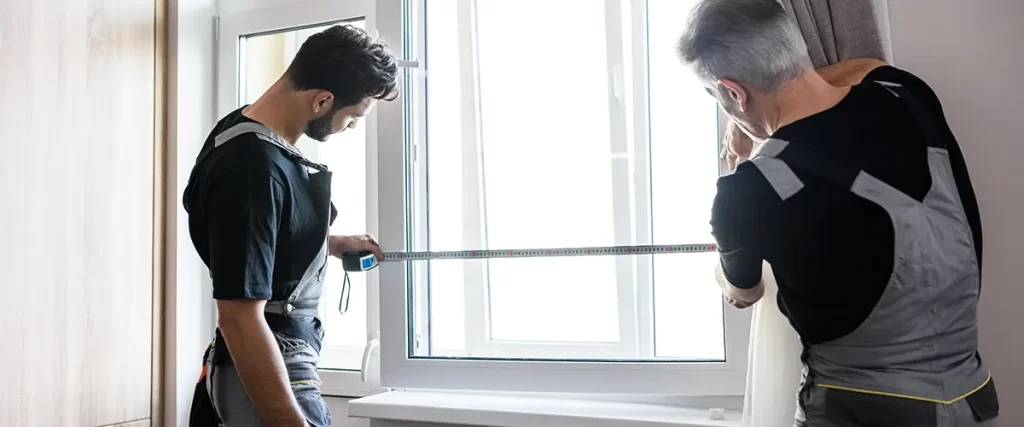
Run your tape horizontally across the opening, from the inside face of one side jamb to the inside face of the other. Read to the jamb surfaces only, never the trim, the stops, or the parting beads.
Now do it three times: near the top, across the middle, and near the bottom. Openings settle and shift over the years, so those three rarely match to the exact sixteenth. Write all three down, then circle the smallest one. That number is your width.
A window built to the narrowest point will always fit, while one built to the widest point can bind in the opening.
Step 3: Measure the Height, Three Times
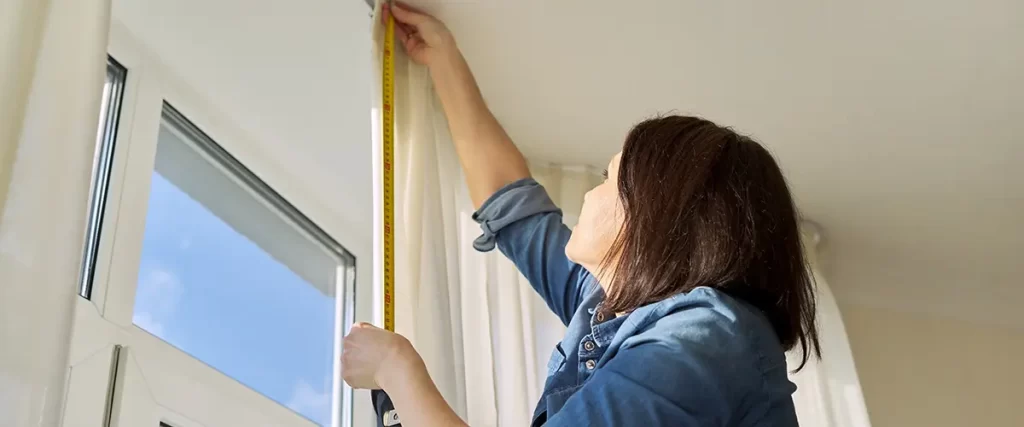
Same idea, turned vertical. Measure from the high point of the sill up to the underside of the head jamb. If your old wood window has jamb liners, pull them first so you’re reading the true frame height.
Take the reading on the left, in the center, and on the right. Record all three, and once again the smallest number wins. Sills in older homes often slope a touch, so keep the tape running straight up and down instead of following the angle.
Step 4: Check the Depth
A pocket window needs somewhere to sit. Measure from the inside window trim back to the outside blind stop, ignoring any pulleys or parting strips that come out during installation.
You want at least 3 1/4 inches of usable depth back there. Anything less, and a standard insert won’t seat correctly, which usually points you toward a full-frame replacement instead.
Step 5: Confirm the Opening Is Square
Even a perfectly measured window will fight you if the hole isn’t square, and the check takes about ten seconds. Run your tape diagonally from the top-left corner to the bottom-right, then from the top-right corner to the bottom-left.
If those two diagonals land within 1/4 inch of each other, the opening is square enough for a standard unit. If the gap is wider, the opening is racked, and it’ll need shimming, a little framing work, or a slightly smaller window to fit the true square area inside. Catching that now beats discovering it on install day.
Step 6: Round Down, Then Double-Check Everything
When you write your final numbers, round down to the nearest 1/8 inch, never up. An undersized window can be shimmed and sealed. An oversized one goes right back in the box.
Here’s the habit that separates a clean job from a headache: measure every window on its own, even the ones that look identical. Two openings side by side on the same wall can differ by half an inch thanks to settling and old repairs. Label each one on your notepad, something like “kitchen, west wall,” and hang on to all three width and height readings, not just the smallest, in case a question comes up when you place the order.
The Mistakes the Pros Never Make
A handful of slip-ups account for most mis-ordered windows:
- Measuring the trim instead of the jamb. Read the frame itself, or the window comes back too big.
- Taking one measurement instead of three. A single reading misses the warp that nearly every older opening hides.
- Rounding up. It feels harmless, and it costs you the whole window.
- Forgetting egress. Bedroom and basement windows have to stay big enough to climb out of in a fire, and a pocket insert can shrink that opening below code. When in doubt, confirm the rules with the City of Omaha’s permit office before you order.
- Skipping the square check. A racked opening undoes an otherwise flawless measurement.
If you’re still weighing which window suits each room, our breakdowns of Marvin casement windows and the Elevate collection are a good place to start, since different styles open and seal in different ways.
Skip the Guesswork and Let Us Measure
Measuring one window is manageable. Measuring a whole house, confirming each opening is square and structurally sound, and getting every number right before a five-figure order is where a steady hand and some experience earn their keep.
So if you’d rather have it nailed the first time, call us at (402) 651-1493 or message us here. As Nebraska’s only Marvin-authorized replacement contractor, we’ll measure every opening, check the framing behind it, and handle the full window replacement from the first reading to the final seal.